Author Name: Sooter Saalu
Text messages are an efficient form of communication that is more likely to be opened and responded to when compared with emails. This makes them the preferred method for time-sensitive and important information.
Scheduling SMS messages is an imperative part of any communication process, as it allows you the flexibility to thoroughly plan your content ahead of time and alleviates the stress of sending SMS messages in bulk.
In this article, you’ll learn some best practices for sending text messages and the process for scheduling them using the Octopush SMS API.
What is Octopush?
Octopush is an SMS marketing platform that offers communication solutions like bulk messaging, SMS scheduling, and two-way SMS. It enables you to plan your communication campaigns to contacts across various countries with detailed automation and real-time statistics.
The platform can be easily integrated using Zapier and their personal API.
Best Practices for SMS Scheduling
SMS messages are effective, however, they can easily be misused with spam tactics and unempathetic messaging.
Consent
For legal and effective messaging, all consumers should consent to be contacted through text. You must also provide the option for users to unsubscribe at any point.
Individuals who do not consent or cannot unsubscribe are more likely to ignore or blacklist your messages.
Amount of Messages
You should be cautious about the number of messages you send. SMS is a more personalized medium, and it’s advised that you do not send multiple messages a week like you might with email marketing.
Message Timing
One of the most important factors in SMS scheduling is the timing of messages, you should, as a general rule, only message during normal business hours. In the case of an international campaign, consideration of the time zones of your recipients is important.
Product deals or discount reminders should be sent a day in advance, allowing recipients time to review and respond.
It’s important to experiment and figure out the optimal SMS scheduling for your audience, as there will always be differences based on the purpose of the message and differences in the audience’s age, location, etc.
Content
Your messages should be concise, understandable, and provide obvious value to the recipient. You’ll find higher unsubscribe rates when your content doesn’t follow these guidelines.
Scheduling SMS Messages From a Web App
Let’s walk through step-by-step instructions for scheduling SMS messages using an API.
Install Octopush
To send SMS messages using Octopush, register on their website and clarify your purpose for using the platform. This information is required for authorization to use their API.
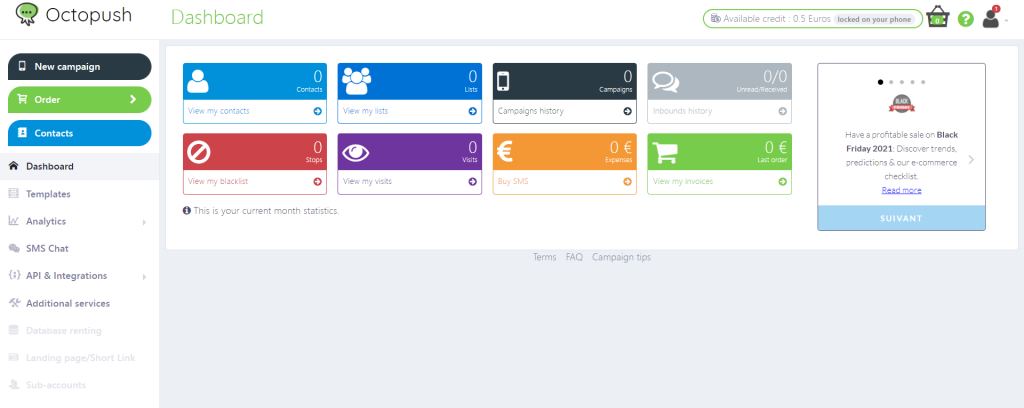
The Octopush API documentation contains the required details on the parameters and headers needed to query the API and send SMS messages with examples of their use. Using the API requires your unique API key and login, which can be found on the website sidebar under API & Integrations.
In order to schedule an SMS, Octopush accepts ten parameters with three of these being optional.
1. Text messages formatted as a string allow up to 1,224 characters under the parameter text.
2. The recipient parameter is formatted as an array of objects with the phone number and first and last name as expected values under the parameter recipients. Up to five hundred contacts can be inputted as recipients.
3. The type of campaign formatted as a string. This is an Octopush specific value, signifying premium or low cost message campaigns. It’s a choice between sms_premium and sms_low_cost under the type parameter.
4. The name of the SMS sender formatted as a string takes up to eleven alphanumeric characters for the sender’s identifier under the sender parameter.
5. The specific time for the scheduled message, formatted as a string containing an ISO8601 date and time. For example, 29 November 2025 4:42pm should be formatted as 2025-11-29T16:42:00.
6. The purpose of the SMS is formatted as a string with options between alert and wholesale under the purpose parameter. Octopush can be used for non-commercial messaging like reminders, payment confirmations, and other automated messages and alerts. Alerts are free and do not incur any additional cost from Octopush.
Note that Octopush imposes fines on abuses of the alert feature.
7. The with_replies parameter accepts boolean values and relates to whether or not you want Octopush to receive replies from your recipients.
8. The optional simulation_mode parameter accepts boolean values and can be used to turn on a simulated process where your message requests are not sent and instead given fake results. This can be useful for testing.
9. The optional request_id parameter accepts string values which represent a unique request, preventing duplicated requests from being processed and results in a validation error. The request_id expires after 24 hours.
10. The last parameter, auto_optimize_text, accepts boolean values. A True” value allows Octopush to fine tune your message, cleaning up empty spaces and unicode characters.
Using this Octopush endpoint and the above parameters, you can access the Octopush scheduling services and send messages to multiple recipients. You can visit Octopush documentation to review curl (command-line) examples.
Connect App to Octopush
Next, the Octopush API needs to be connected to a web application.
Octopush has published API wrappers on their GitHub page in multiple programming languages, including Python and PHP.
For this article, the Python programming language will be used, but you can explore other API wrappers if you need to use another programming language.
Use the Python package installer pip to install the Octopush API wrapper on your local environment.
pip install octopush
Configure API
The Python wrapper will be installed with its library of various functions and modules that can be used to query the API. When scheduling SMS messages using Python, you have the following functions for each parameter:
from octopush import SMS
sms = SMS("*****@gmail.com", "**********") #authorization secrets
sms.set_sms_text(msg_val) # Text parameter
sms.set_sms_recipients(recipent_val) # Recipients
sms.set_sms_type(type_val) # Type of campaign
sms.set_sms_sender(sender_val) # Sender
sms.set_simulation_mode() # simulation mode
sms.set_option_transactional(1) # Purpose
if replies_val == "True":
sms.set_option_with_replies(1) # with_replies
sms.set_date(y = int(date_val_split[0]), m=int(date_val_split[1]), d=int(date_val_split[2]),
h= int(time_val_split[0]), i=int(time_val_split[1]))
# send_at with int values for Year,Month,Day,Hour and Minutes
result = sms.send() # Final function to send the message
This code initializes their SMS class with your authorization details and fills out the various parameters needed for sending a message with the Octopush API, text content, recipients, purpose of the message, etc. The send_at parameter is filled using the set_date function, allowing you to set integer values for exactly when you want the message to be sent.
You can explore the functions in the code file found on the GitHub repository.
When you connect your web app to the Octopush API, you can also use the requests package directly by installing the requests package and utilizing the POST and GET functions to query the API.
pip install requests
This method is very similar to the command-line process of querying APIs and can make it easier to debug and use.
You can integrate this method into your web app easily, creating dictionaries for the various parameters and authorization keys, and use them to run the requests module.
import requests
import json
headers={"api-login":"*****@gmail.com","api-key":”******”}
parameters = {"text":msg_val, "recipients":recipients_val_split, "type":type_val,"sender":sender_val, "send_at":send_date,"purpose":purpose_val,"with_replies":replies_val}
result = requests.post("https://api.octopush.com/v1/public/sms-campaign/send", headers=headers, data=json.dumps(parameters))
It’s especially important to use the ISO8601 date and time format for your entry to the
send_atparameter when using this method.
Credit Check
Both of the above methods can be used to query and explore the Octopush API, performing other tasks like checking the available credit on your account, or managing your contacts.
# Checking credit (Python Wrapper)
from octopush import SMS
sms = SMS("*****@gmail.com", "**********") #authorization secrets
credit = sms.get_balance() # credit check
# Checking credit (Requests method)
import requests
headers={"api-login":"*****@gmail.com","api-key":”******”}
credit_result = requests.get("https://api.octopush.com/v1/public/wallet/check-balance", headers=headers, params={"with_details":True})
Above you have a basic web app built with Streamlit which collects user input to schedule SMS messages and check the account balance using the Octopush API parameters.

Conclusion
SMS messaging is an important communication medium to be explored, with more people spending a significant amount of time using their phones. The response rates and conversion processes are some of the best when it comes to digital communication.
In this article, you’ve explored scheduling SMS messages and some best practices including obtaining consent, streamlining your content, and testing the timing and frequency in sending SMS messages.
Octopush API can help you and your organization schedule SMS messages to increase deliverability and user experience. It enables and streamlines the scheduling process, giving you automation and customization options that make your SMS messaging less of a chore and allows you to implement a concrete communication plan.